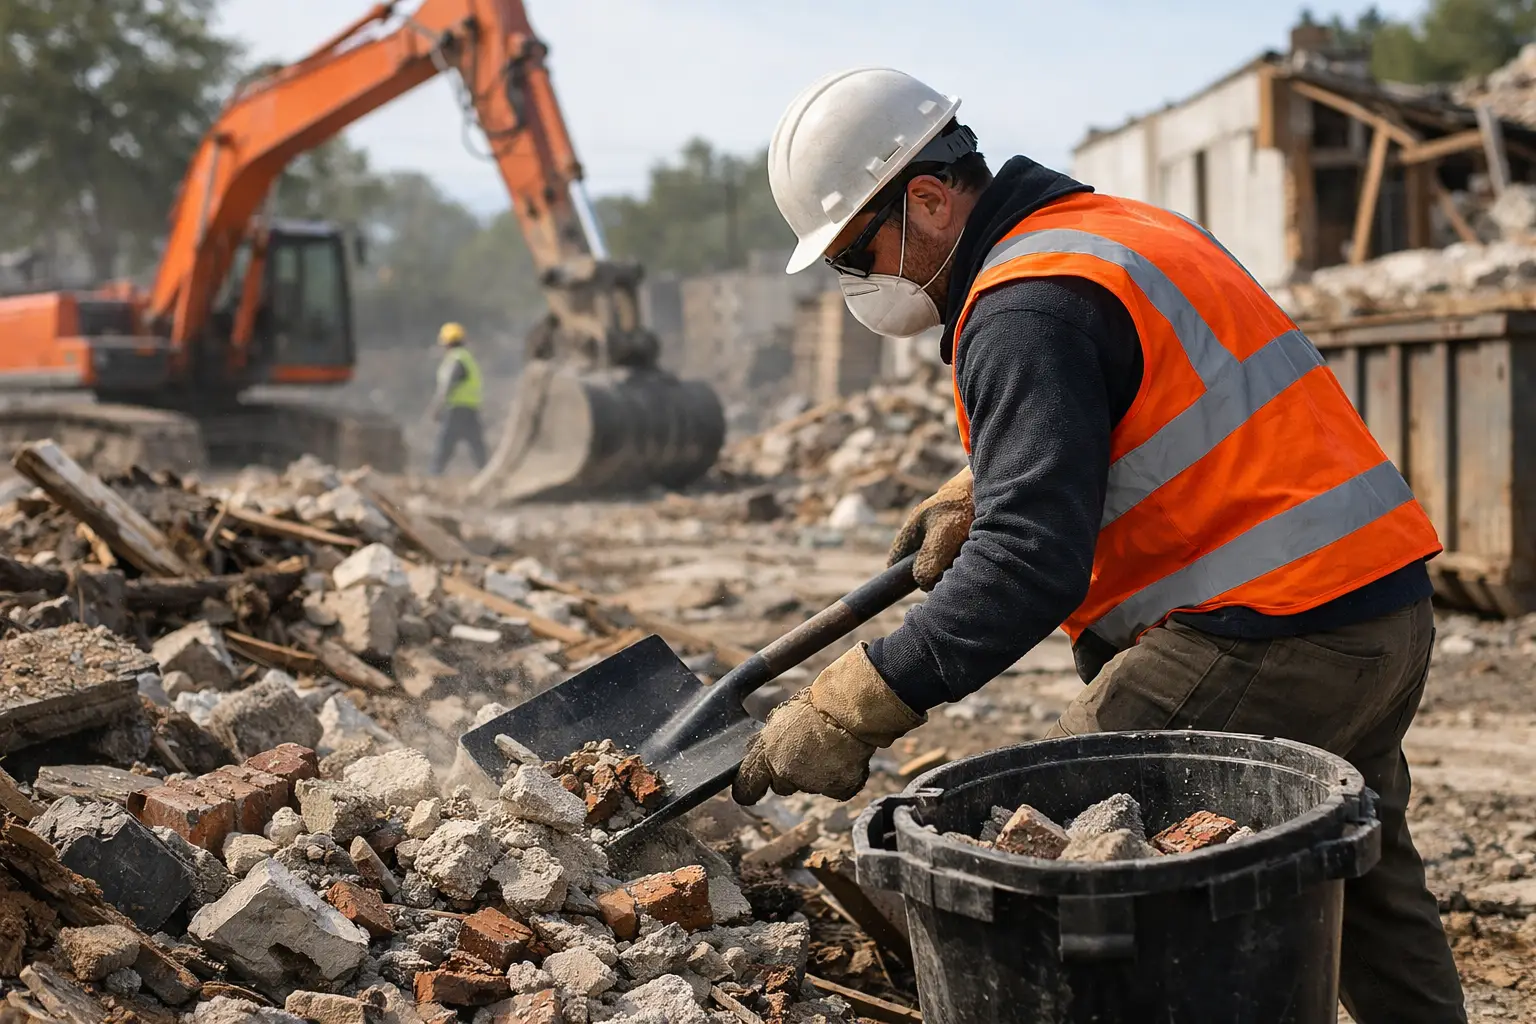
The demolition crew may be finished, but the job is not over when the last wall, cabinet, or floor section comes out. Sharp debris, hidden nails, heavy piles, and dust can quickly turn a productive project into a safety issue. This post demolition cleanup guide gives homeowners, property managers, and contractors a practical order of operations for getting the site cleared without creating more work later.
A clean site makes the next phase easier. Whether you are rebuilding a kitchen, preparing a rental unit, clearing a commercial space, or removing a damaged structure, the goal is the same: separate what can be saved, remove what needs to go, and leave a safe work area behind.
Start With Safety, Not the Debris Pile
Before anyone starts loading debris, stop and look over the entire area. Demolition can leave hazards in places that are easy to miss, including exposed nails, loose wiring, broken glass, unstable drywall, and partially disconnected plumbing. Keep children, pets, tenants, and anyone not involved with the cleanup away from the work zone.
Wear sturdy closed-toe boots, work gloves, eye protection, and a dust mask or respirator suited to the material being handled. Long sleeves are a good idea when dealing with insulation, splintered wood, or sharp metal. If the demolition involved a large amount of concrete, tile, or masonry, use proper lifting techniques and avoid overloading wheelbarrows or bins.
Do not assume every material is safe to handle. Older properties may contain asbestos-containing materials, lead-based paint, mold-damaged materials, or other regulated waste. If you suspect a hazardous material, pause the cleanup and have it evaluated by a qualified professional. Regular hauling is not the right answer for every type of debris.
Post Demolition Cleanup Guide: Sort Before You Haul
The fastest way to make a cleanup harder is to throw everything into one pile. Sorting as you go helps control costs, keeps reusable materials out of the landfill, and prevents a dumpster or trailer from filling up with items that require a different disposal method.
Set aside a clear area for each material type. The exact categories depend on the project, but most post-demolition jobs include:
- Wood, drywall, insulation, and general construction debris
- Concrete, brick, tile, dirt, and other heavy materials
- Scrap metal, including pipes, framing, appliances, and fixtures
- Salvageable items such as doors, cabinets, hardware, and lumber
- Materials that need special handling, including paint, chemicals, batteries, fluorescent bulbs, or suspected hazardous waste
Heavy debris deserves special attention. Concrete, block, soil, and roofing material can add weight quickly, and many disposal options have weight limits. A trailer or dumpster that looks only half full may already be too heavy to haul legally or safely. For a major tear-out, ask about the right container size and whether heavy material should be loaded separately.
Salvage is worth considering, but only when it is realistic. Clean cabinets, solid doors, usable fixtures, and scrap metal may have value. On the other hand, holding onto damaged materials because they might be useful someday can slow down the project and clutter the site again. Keep what has a clear purpose. Let the rest go.
Work From the Inside Out
Once materials are sorted, clean the job in a logical order. Start inside the structure, then move toward exits, walkways, driveways, and exterior work areas. This keeps workers from dragging debris back across a space that has already been cleared.
Begin by collecting large pieces that can be safely carried or loaded. Flatten cardboard, break down light materials where appropriate, and remove loose items from corners, closets, and behind remaining fixtures. Place nails, screws, shards of glass, and small sharp pieces in sturdy containers instead of loose bags that can tear.
After the large debris is gone, sweep the area thoroughly. A shop vacuum can help with fine dust and fragments, but use one with proper filtration if the project produced a lot of drywall or construction dust. Wet mopping may be useful on hard surfaces after dry debris is removed, though it is not a substitute for controlling dust during demolition.
Outside, check the ground carefully. Nails and screws often end up in grass, gravel, mulch, and along fence lines. A rolling magnetic sweeper is especially useful after removing wood framing, roofing, or metal components. It is a small step that can prevent tire damage, foot injuries, and unhappy tenants or neighbors.
Protect the Property While Cleanup Is Underway
Cleanup is not only about getting rid of waste. It is also about preventing damage to the parts of the property that remain. Cover floors that are staying, protect door frames and walls near travel paths, and keep debris away from drains. Dust, grout, small chunks of drywall, and concrete residue can cause expensive plumbing issues if they are washed into sinks, toilets, or storm drains.
Pay attention to access routes too. If debris has to cross a driveway, lobby, hallway, or landscaped area, use a clear path and avoid repeated trips over the same vulnerable surface. In South Florida, afternoon rain can turn loose dirt, drywall dust, and debris into a slippery mess fast. Keep tarps available and do not leave lightweight debris unsecured outside.
For occupied homes, apartment buildings, and commercial properties, communication matters. Let people know where the loading area is, when hauling will happen, and which entrances should stay clear. A cleanup crew that works quickly but blocks access all day can create unnecessary frustration.
Choose the Right Hauling Setup
The right removal method depends on debris volume, material weight, site access, and how quickly the space needs to be ready. A small bathroom demolition may only require a few pickup loads, while a full renovation can produce enough debris to justify a dumpster rental or dedicated junk removal crew.
A dumpster works well when debris will build up over several days and there is a safe place to set it. It gives you a central location to load material as the project progresses. Junk removal is often a better fit when the debris is already piled up, the property needs to be cleared quickly, or you do not want to handle the loading yourself.
For tight driveways, busy properties, or jobs with unusually heavy material, discuss access before scheduling. Measurements, gate widths, overhead lines, parking restrictions, and the location of the debris pile all affect how smoothly removal goes. A little planning can prevent a crew from arriving only to find that the material cannot be safely reached.
A&D Junk Removal LLC helps customers in Dade and Broward counties with debris hauling, dumpster rentals, demolition support, and Bobcat services when the job calls for more than a few trash bags and a personal vehicle. The practical advantage is simple: one dependable team can help move material, clear debris, and keep the project moving.
Do a Final Walk-Through Before the Next Trade Arrives
Before painters, installers, plumbers, or flooring crews begin, walk the site slowly. Look for loose fasteners, piles left behind in cabinets or crawl spaces, damaged surfaces, and debris near electrical panels, drains, or air vents. Check that all walkways are clear and that nothing is blocking exits.
This is also the time to confirm that the space is truly ready for the next task. A demolition site may be clean enough for hauling purposes but still need dust control, surface preparation, or material delivery before construction can continue. Knowing the next step helps you decide how clean the site needs to be today.
A good cleanup does more than make the property look better. It gives the next crew a safer place to work, helps protect the surfaces you are keeping, and takes one more stressful task off your project list. When the debris is larger than your schedule or vehicle can handle, getting reliable help early is usually the easier choice.